Netscape Navigator 3.x
1. Launch Netscape Navigator
2. From the 'Options' menu select 'Network Preferences'.
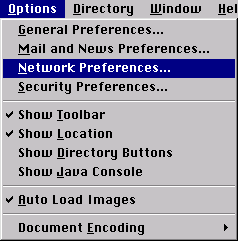
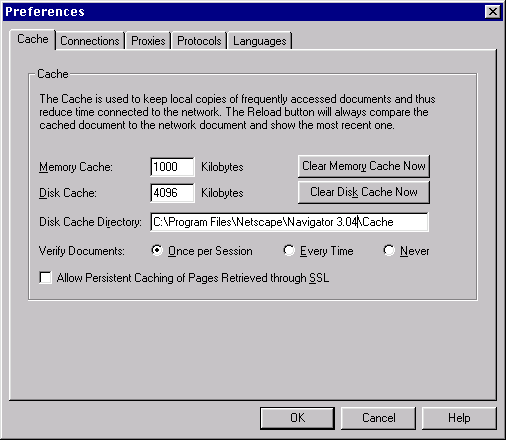
3. When you click on that, a window called ‘Preferences’ will
pop up. Normally, it’ll look like this:
4. See the tab called ‘Proxies’ in this window? Click
on that. The Proxies section of Preferences will show itself.
It usually looks like this:
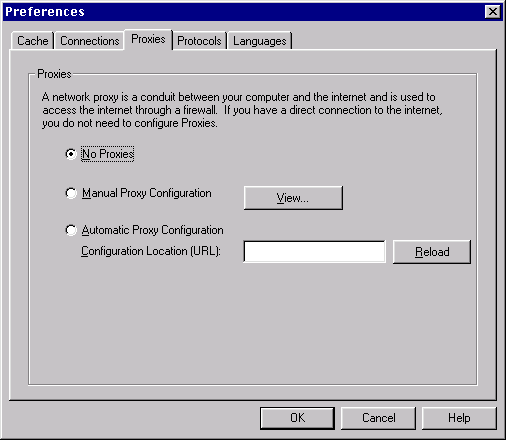
5. Normally, the radio button called 'No Proxies' is selected.
To get to the proxy settings window, you should select 'Manual Proxy Configuration'.
When you've done that, click on 'View...'.

6. Now a window called 'Manual Proxy Configuration' will show
up. Normally, all the fields in the window are blank.
Here's what it looks like:
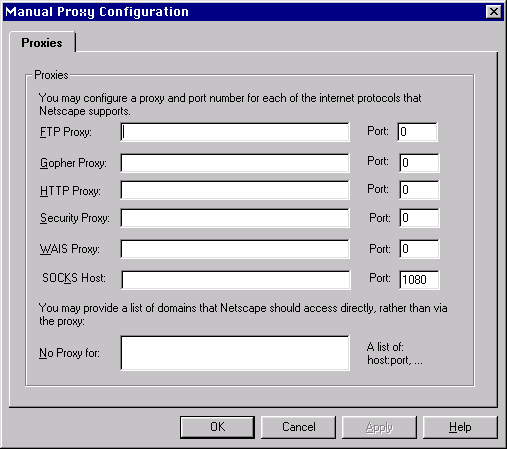
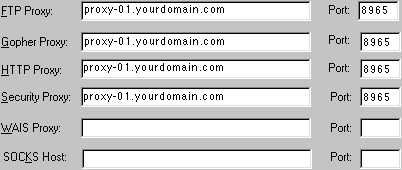
7. It is at this point when you can put your proxy address and
port number the fields. A sample screenshot is shown below.
7. Once you are done filling in the information, click the 'OK'
button to leave the 'Manual Proxy Configuration' window, and then click
the 'OK' button to leave the 'Preferences' window.
8. Unlike Netscape Navigator 2.x, your settings will be automatically
saved when you leave the Preferences window.